
A guided tour of BGI Commons from your side of the screen — from creating an account to running a team. Each step shows where to click and what you'll see next.
1. Sign up
Press Join the Commons in the header. Enter an email and a password (8+ characters), tick the Terms, then Create account — or skip typing with Continue with Google / GitHub, which arrive already verified.
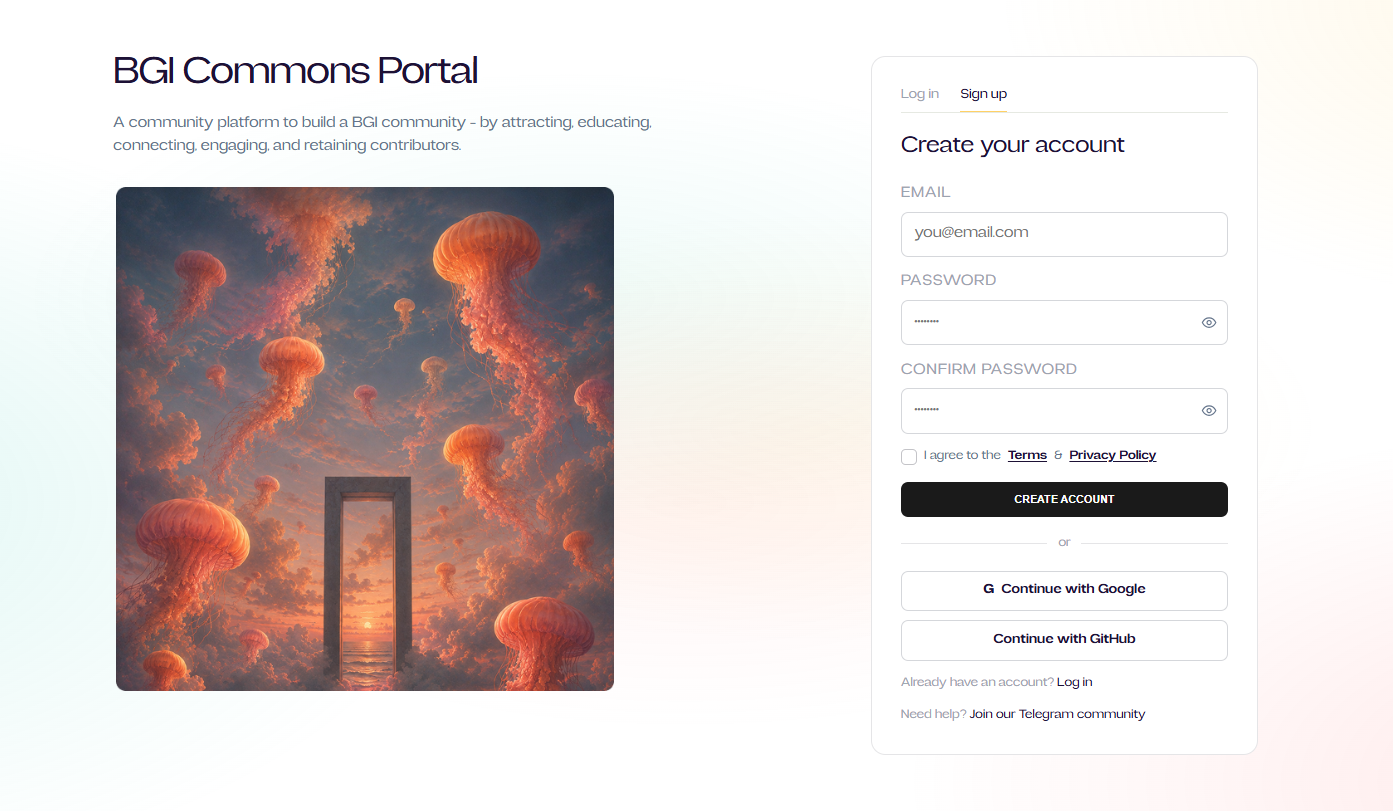
Fig. 1 — The sign-up card.
2. Verify your email
After signing up with email you'll see a Check your email screen. Open the link we send (valid for 60 minutes) to activate your account. No email? Check spam or press Resend.
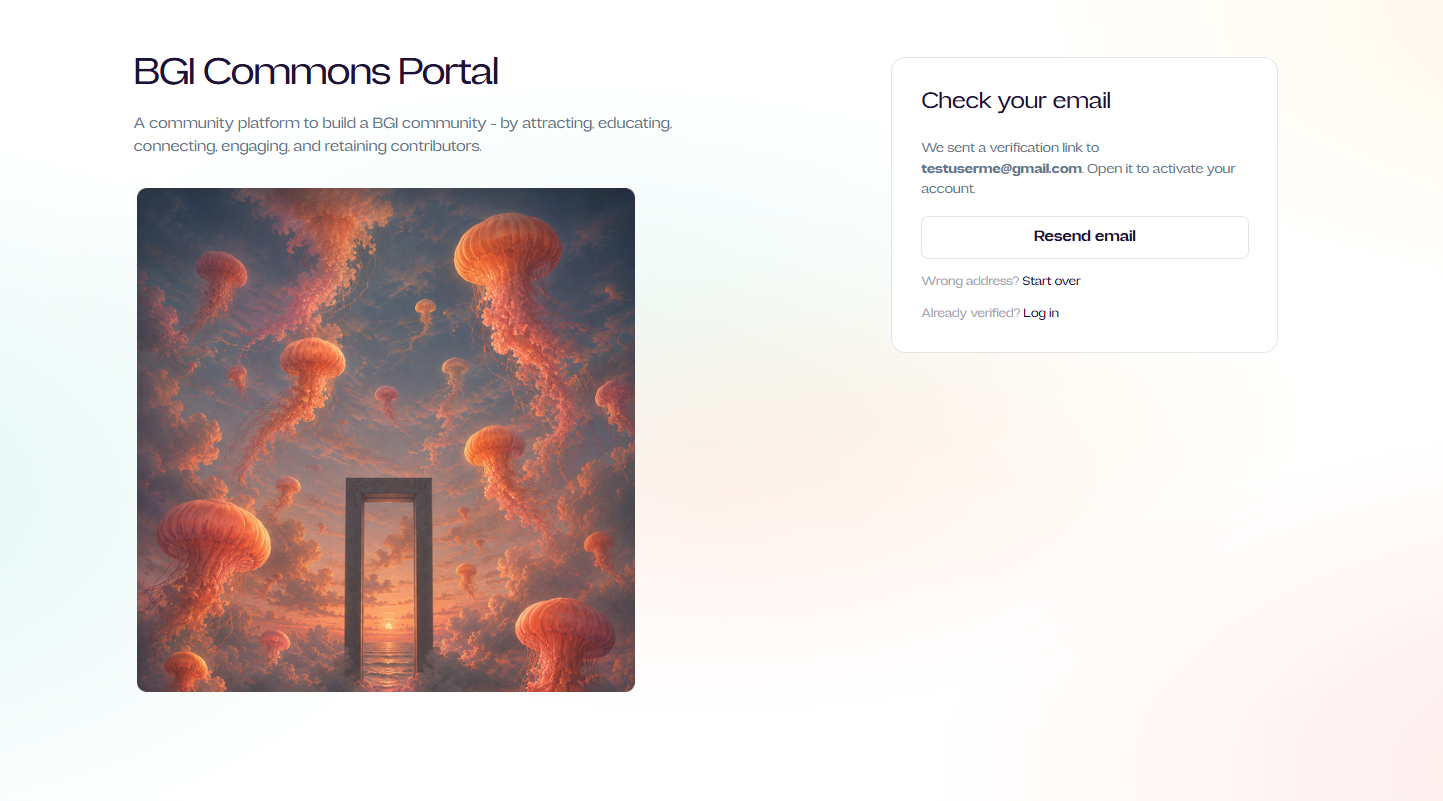
Fig. 2 — Shown right after sign-up.
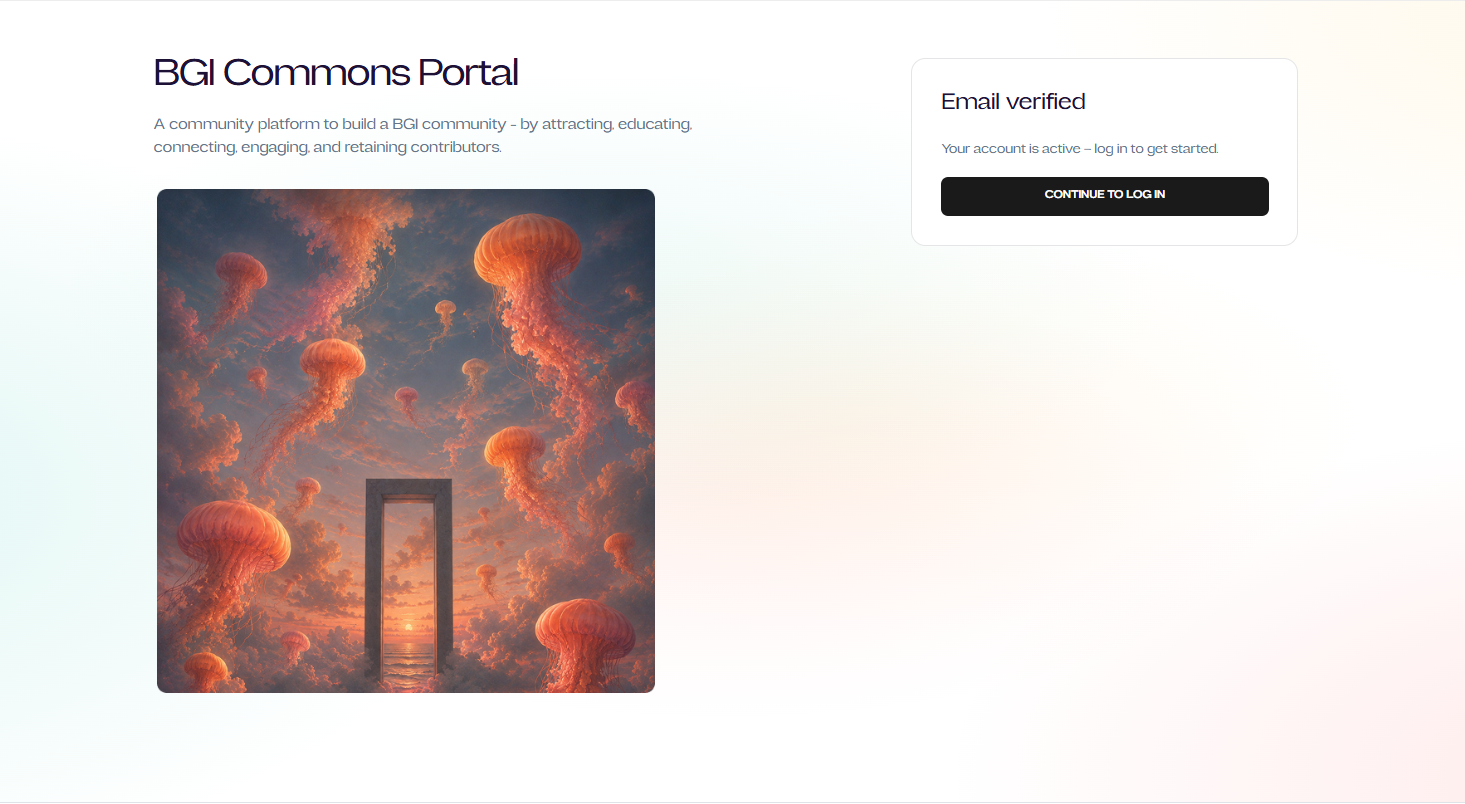
Fig. 3 — Clicking the link confirms your account.
3. Sign in
Already have an account? Press Log in, enter your email and password (or use Google / GitHub). You'll land on your dashboard.
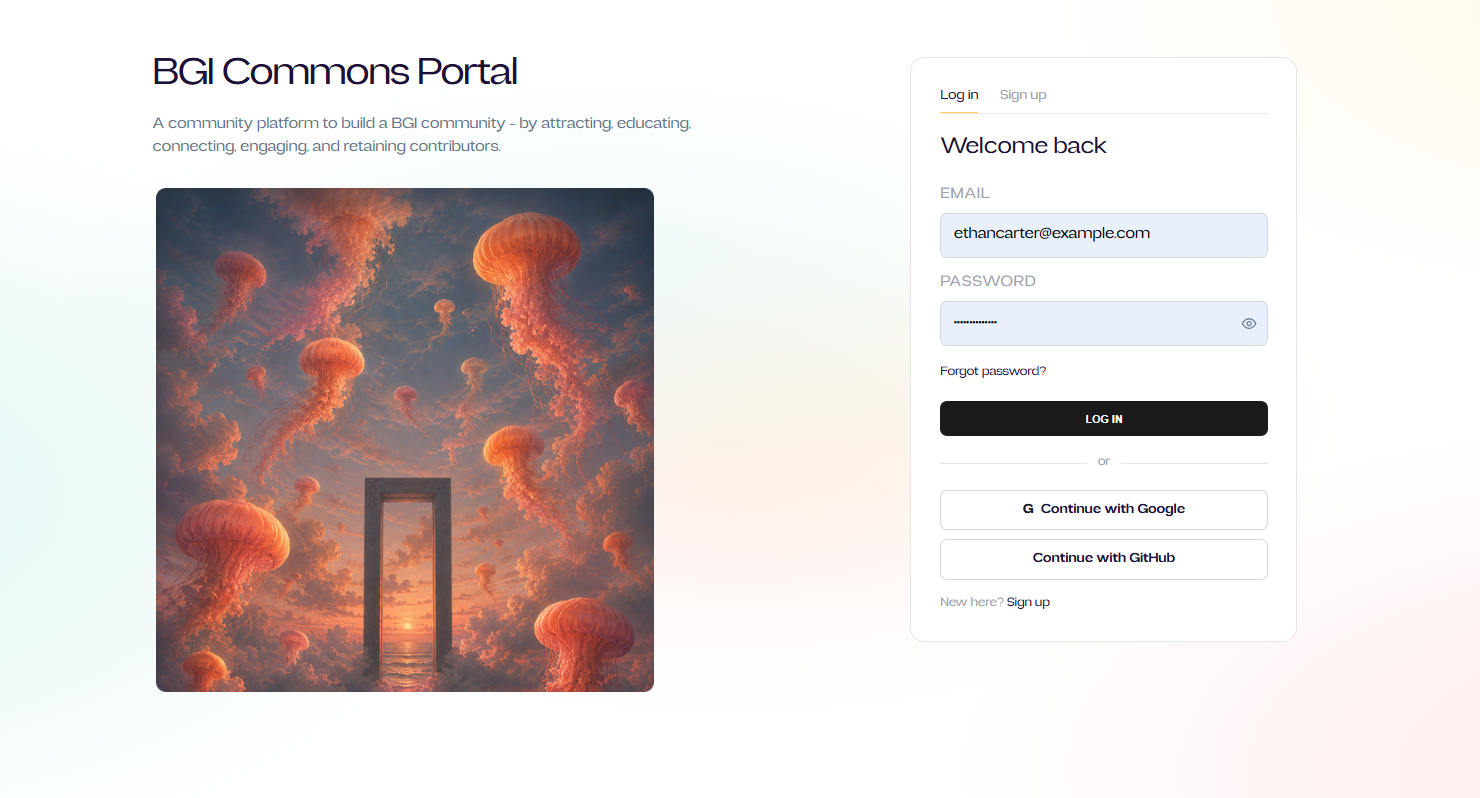
Fig. 4 — The log-in card.
4. Finish onboarding
The first time in, a short setup asks for a display name, 1–2 skills, and a few optional links (Telegram, GitHub…). Flip open to being matched on if you'd like teams to find you. Everything else fills itself in as you take part.
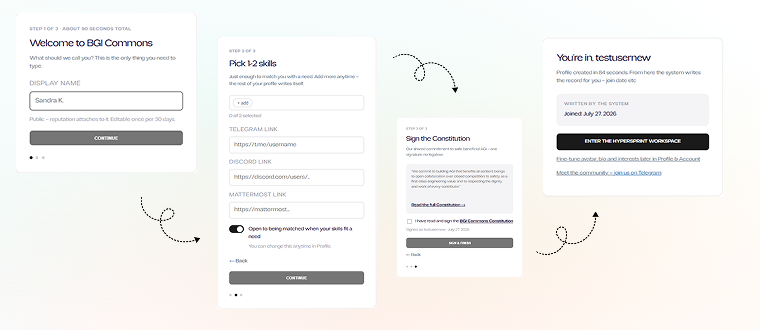
Fig. 5 — The one-time onboarding, about 90 seconds.
5. Reset a forgotten password
On the log-in screen choose Forgot password and enter your email. We send a reset link — open it and set a new password.
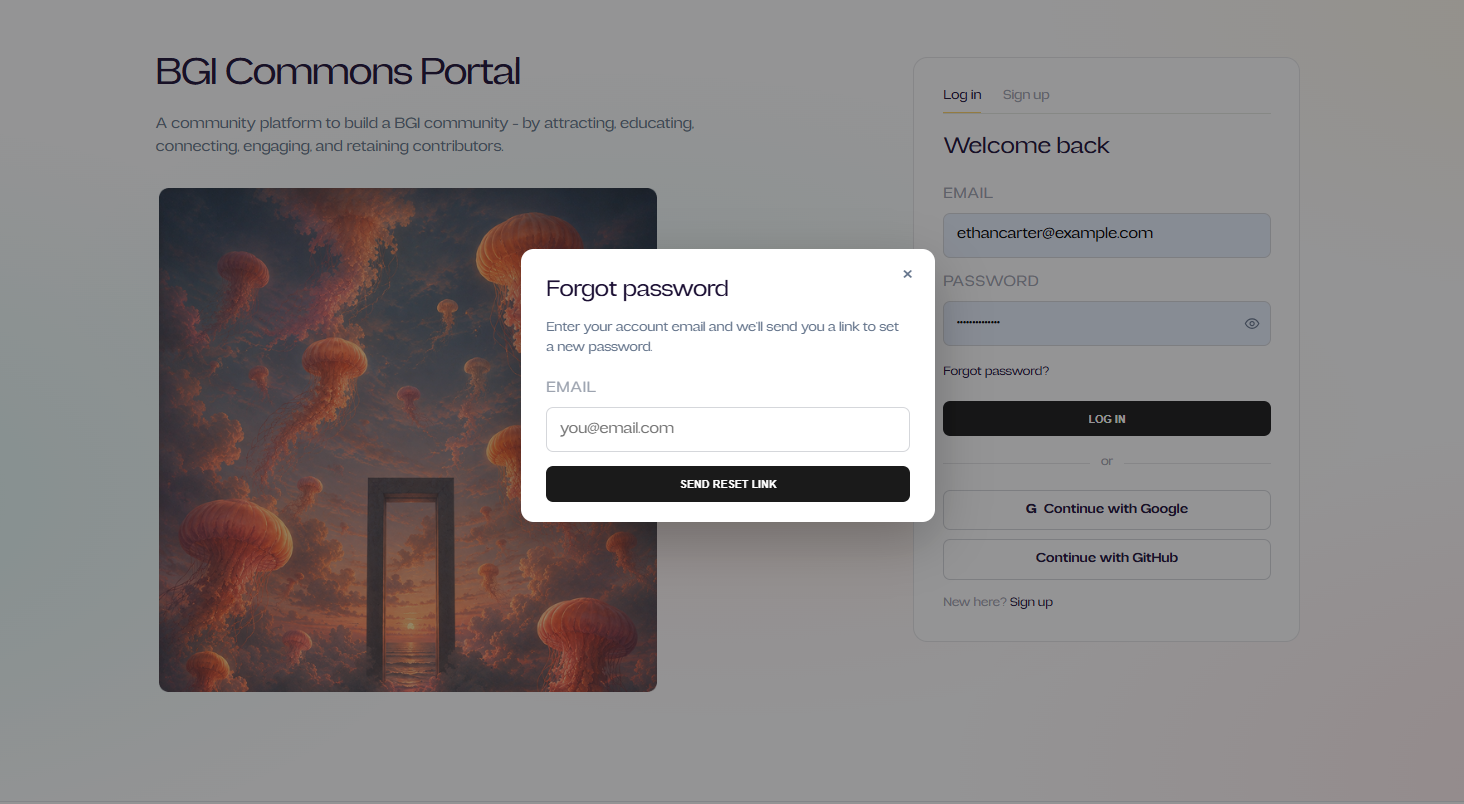
Fig. 6 — Request a reset link.
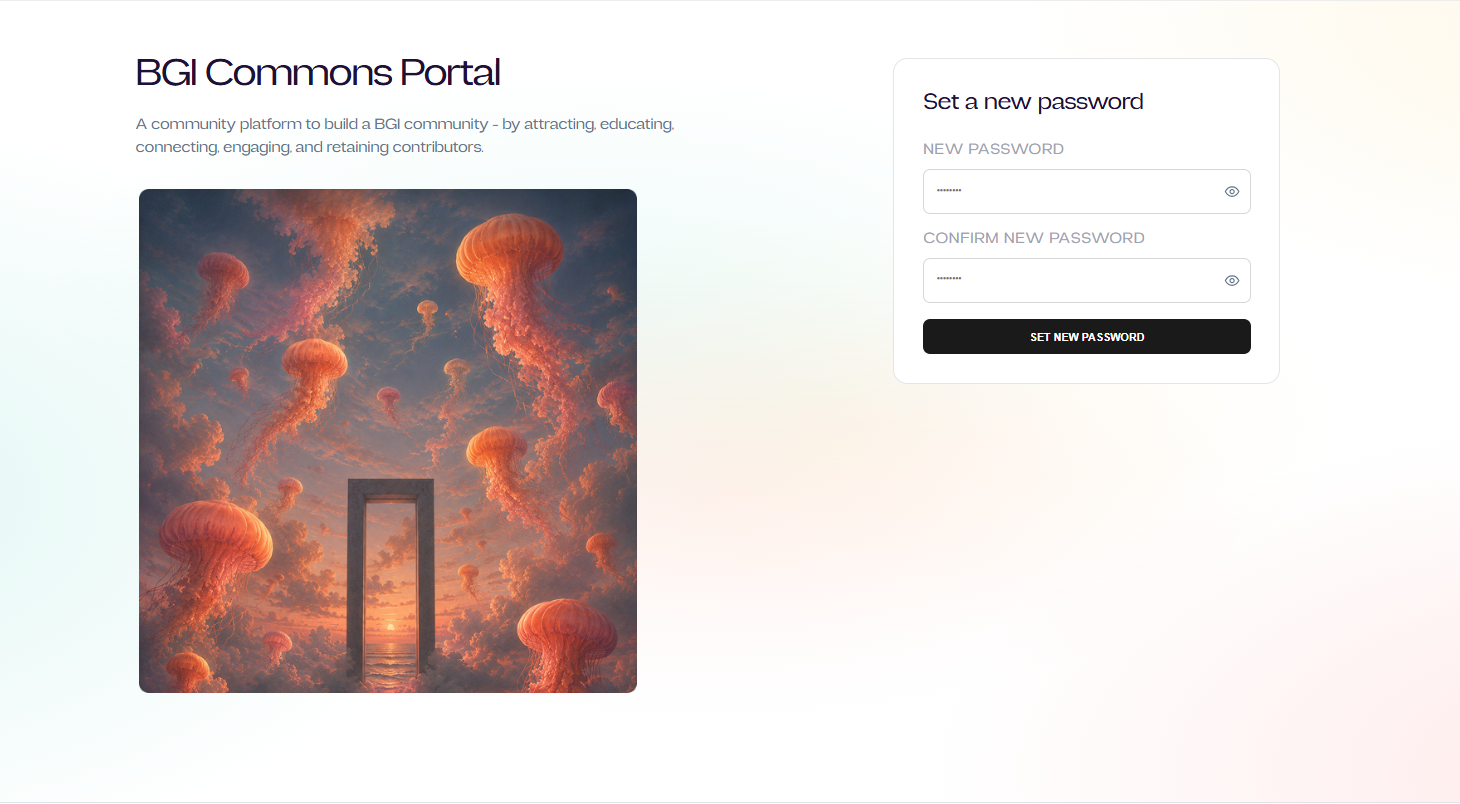
Fig. 7 — Set your new password.
6. Set up your profile
Open the avatar menu → Edit profile. Add a bio, skills, interests and social links, and choose whether you're open to team invites. Your public profile lives at /u/your-id.
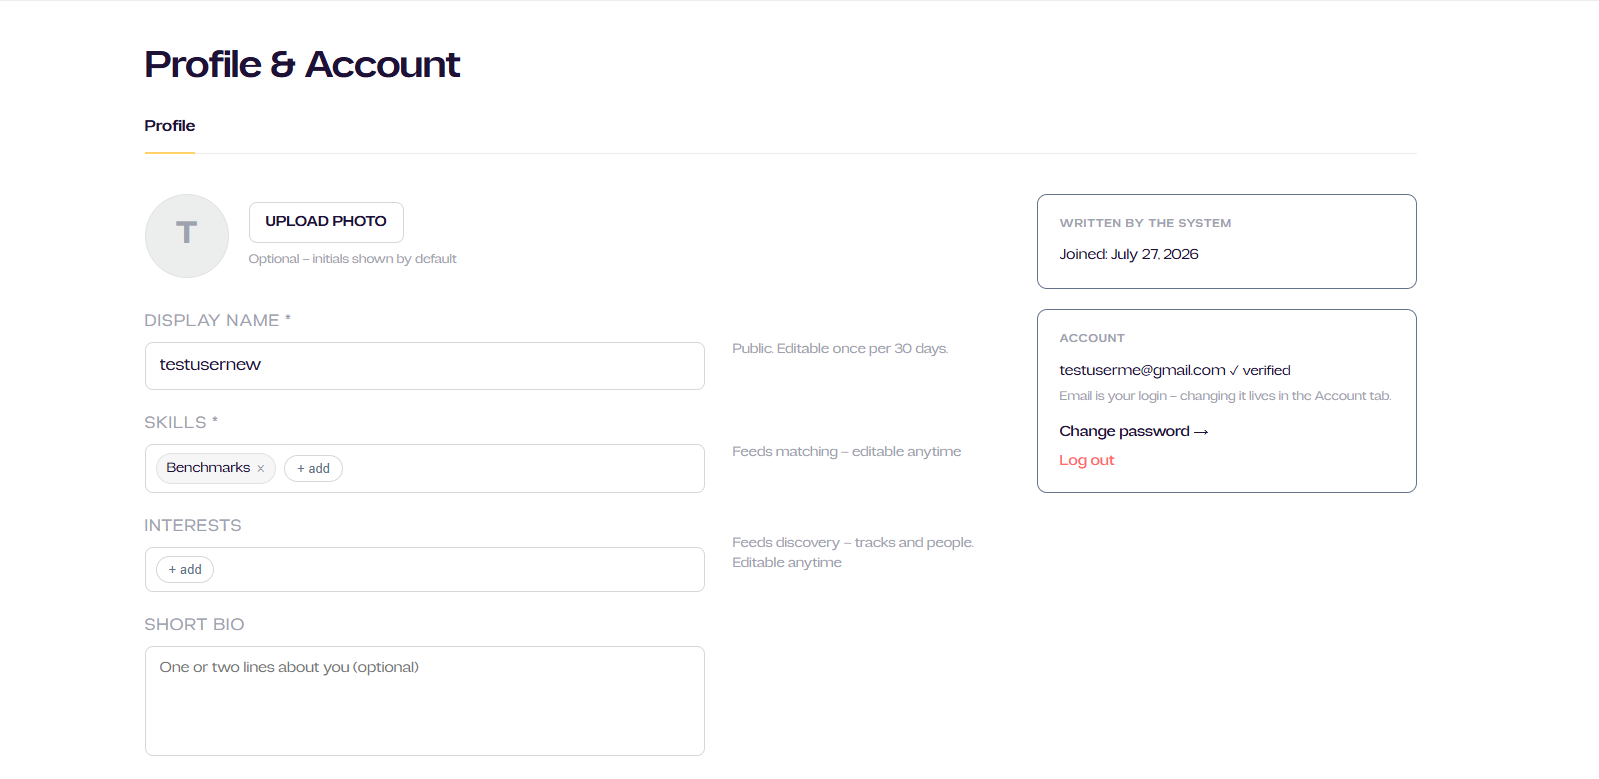
Fig. 8 — Editing your profile.
7. Create a team
From a sprint's Teams page press Create a team. Pick an avatar colour (or upload a logo), name the team, choose a track and team size — you're now the captain.
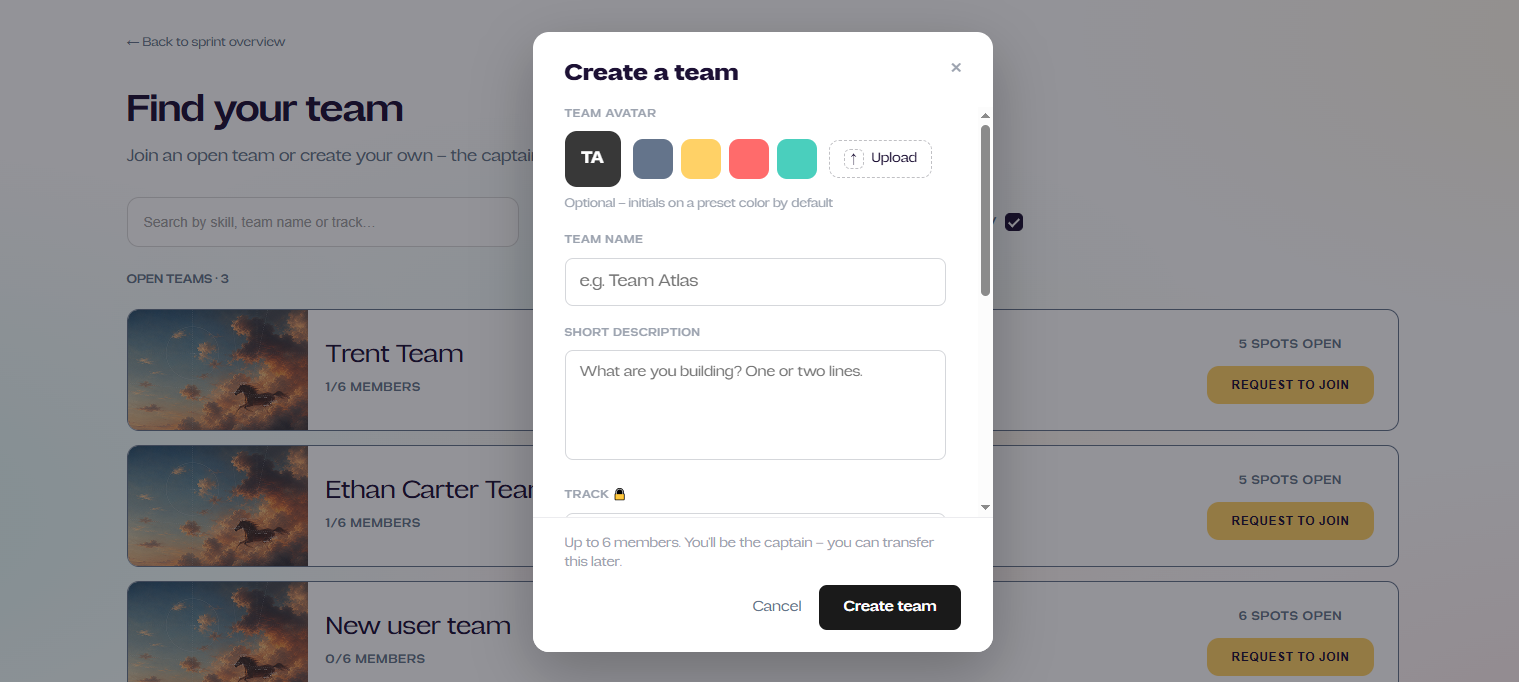
Fig. 9 — Creating a team.
8. Invite a teammate
As captain, open your team and use + Invite teammate to invite by email or from the Find people directory, or Share the join link.
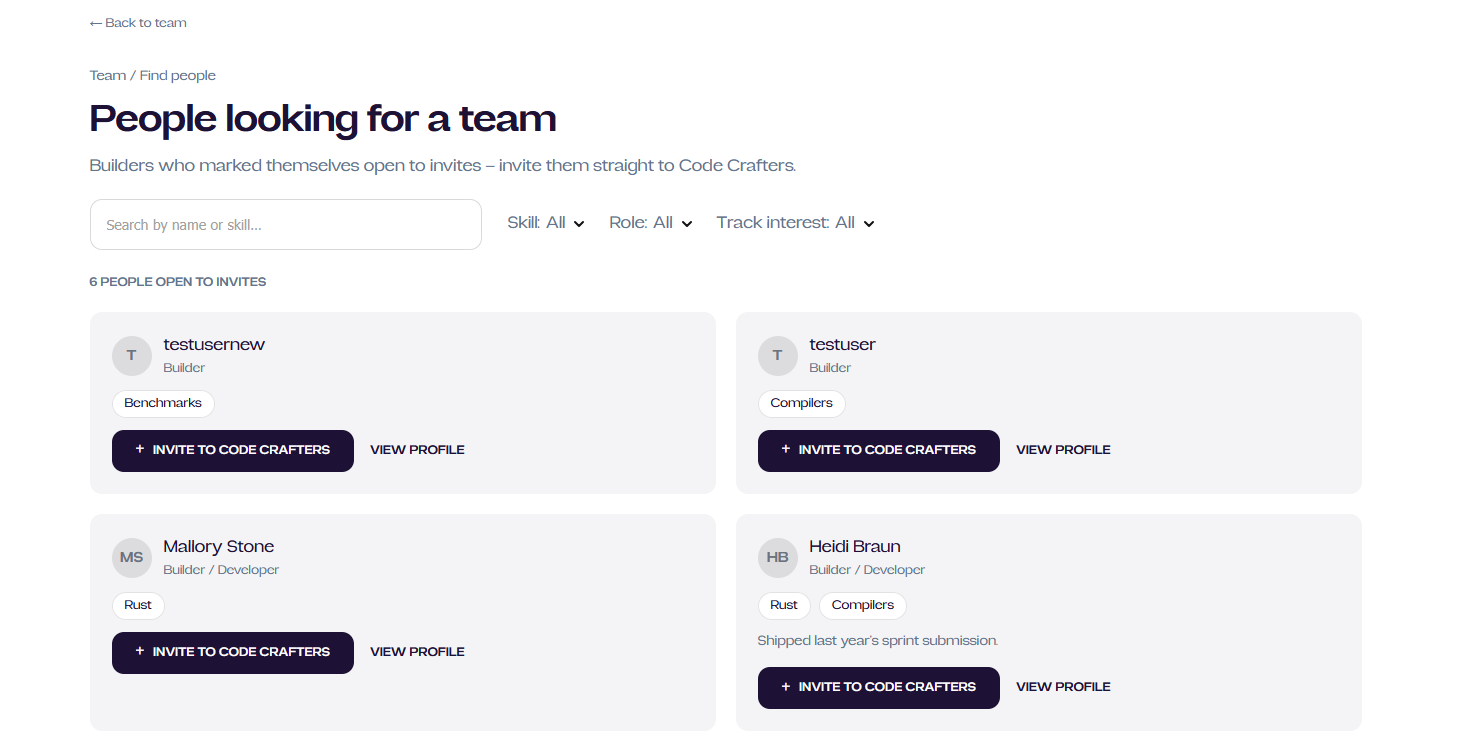
Fig. 10 — Inviting teammates.
9. Request to join a team
Browsing the Teams directory, open any team with open spots and press Request to join. The captain gets a notification and can accept or decline.
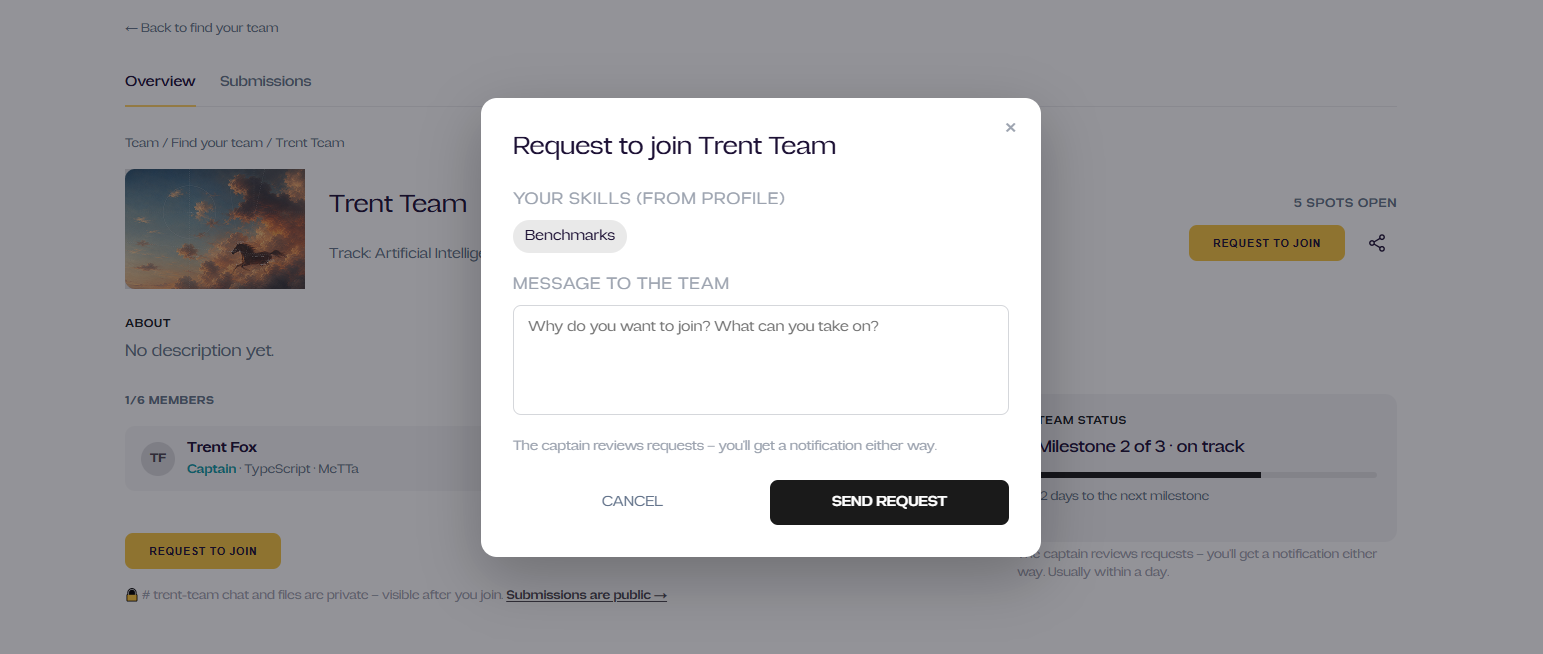
Fig. 11 — Requesting to join.
10. Accept, decline & remove members
On your team page, captains see incoming join requests to Accept or Decline, and can Remove a member from the roster. Everyone is notified either way.
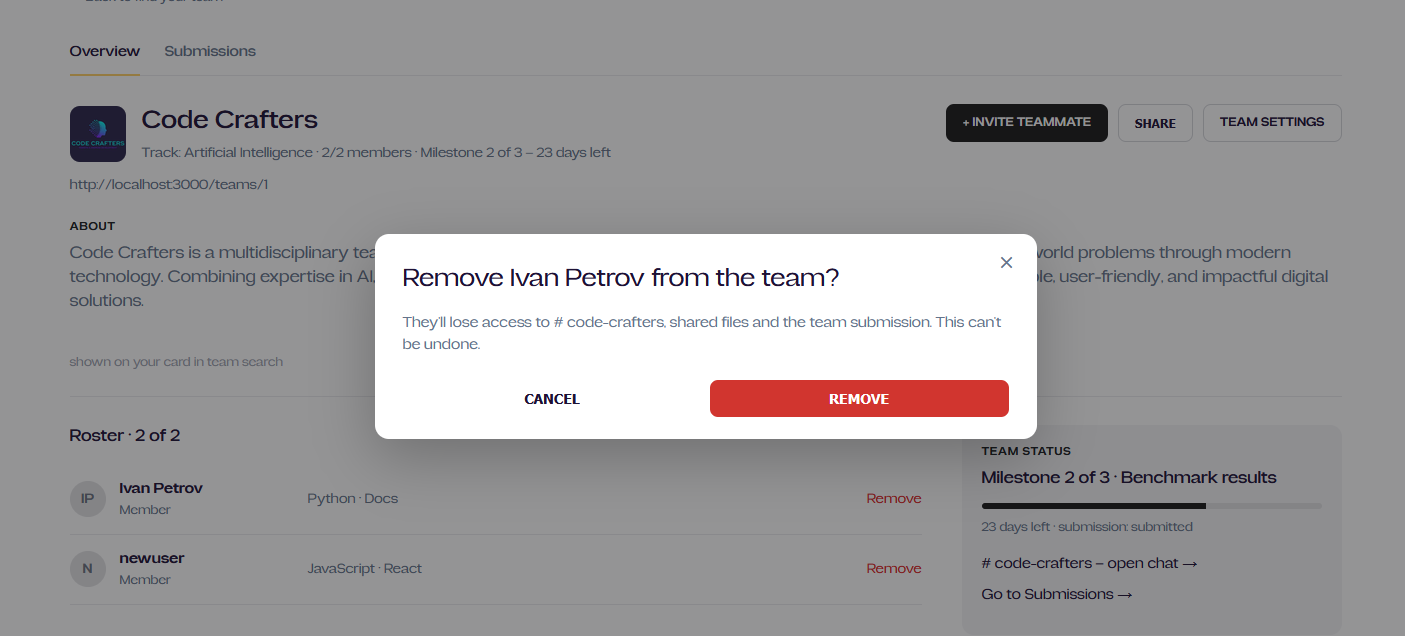
Fig. 12 — Managing the roster.
11. Team settings
Team settings (captain only) is where you edit the name, description, track, size, looking-for skills and visibility — or transfer captaincy and disband the team.
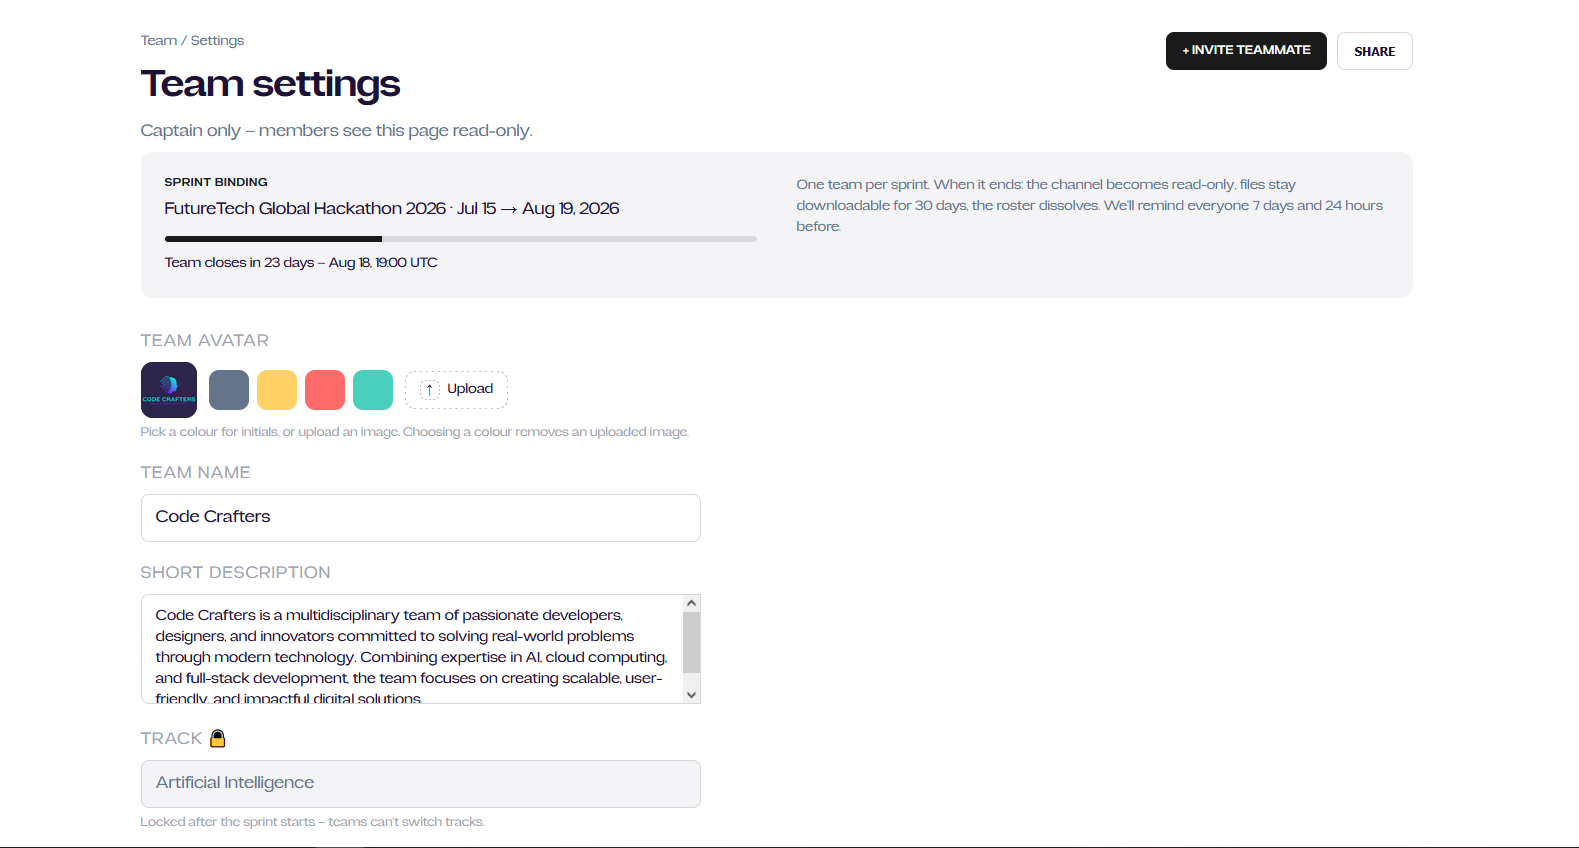
Fig. 13 — Team settings.